You are an aspiring producer that makes great music but your music is lacking the professional touch and it does not sound good on streaming platforms or in your friend’s car.
So here are some audio engineering concepts by Lost stories academy you should keep in your mind before putting your music online.
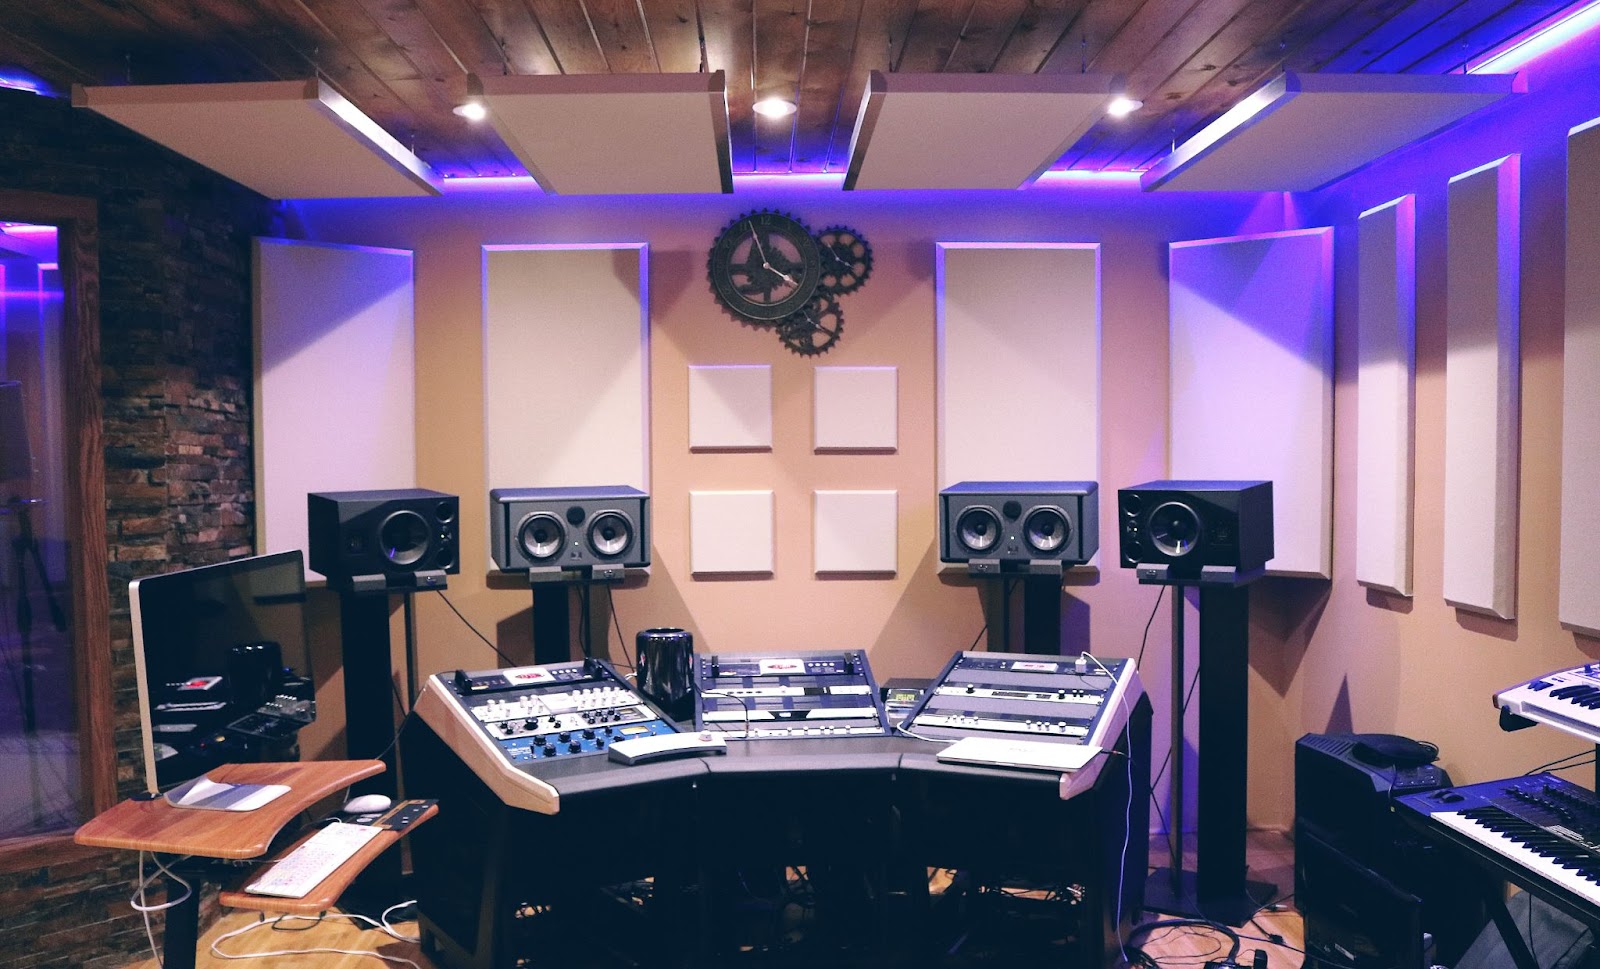
Treating a room acoustically is the initial part in order to get a good mix for the producers. If you are mixing then it is essential to hear only the direct sound which is coming out from the speakers.
We do not want reflection, reverberation, standing waves, etc. which can alter what we are listening to and will ruin the mix. Treating the room will eject these problems.
Some producers feel their music sounds good in their speakers but sounds trash on a different setup. This is because the sound they are hearing is a false sound. So in order to listen to the original sound and have a good sounding mix, Room treatment is key.
I personally like to mix in headphones and later listen to my mix on the speakers. But all the headphones have different eq curves which also alters the final sound. There is a software called Sonarworks which calibrates any studio headphones and makes them flat while mixing and gives the original sound which really helps while mixing.
Just drop it on the master channel and you are good to go. But make sure to turn off sonar works before exporting.
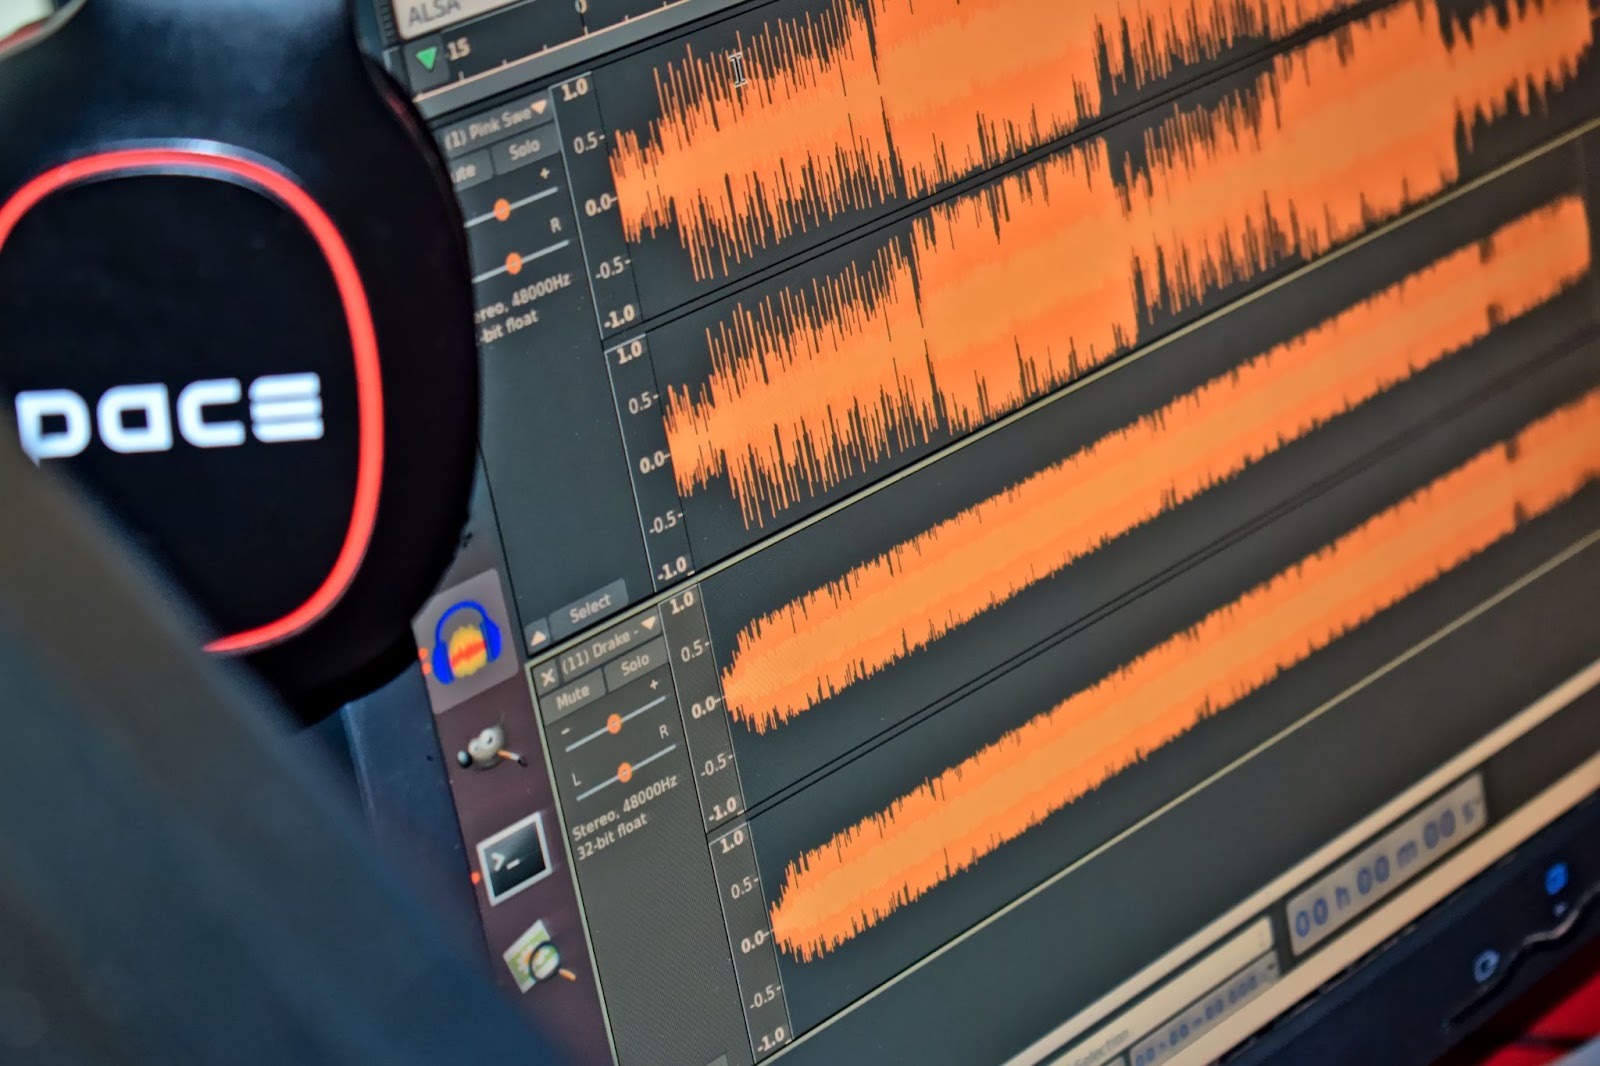
Vocals are the lifeline of a track. Recording vocals at a decent level is essential.
Recording too hot or too low can ruin your mix and can introduce unwanted distortion.
As vocals are dynamic in nature, vocals should be recorded at an average of -18 dB in which the loudest part can reach -10dB and quieter parts can reach -24 dB in order to leave a significant headroom.
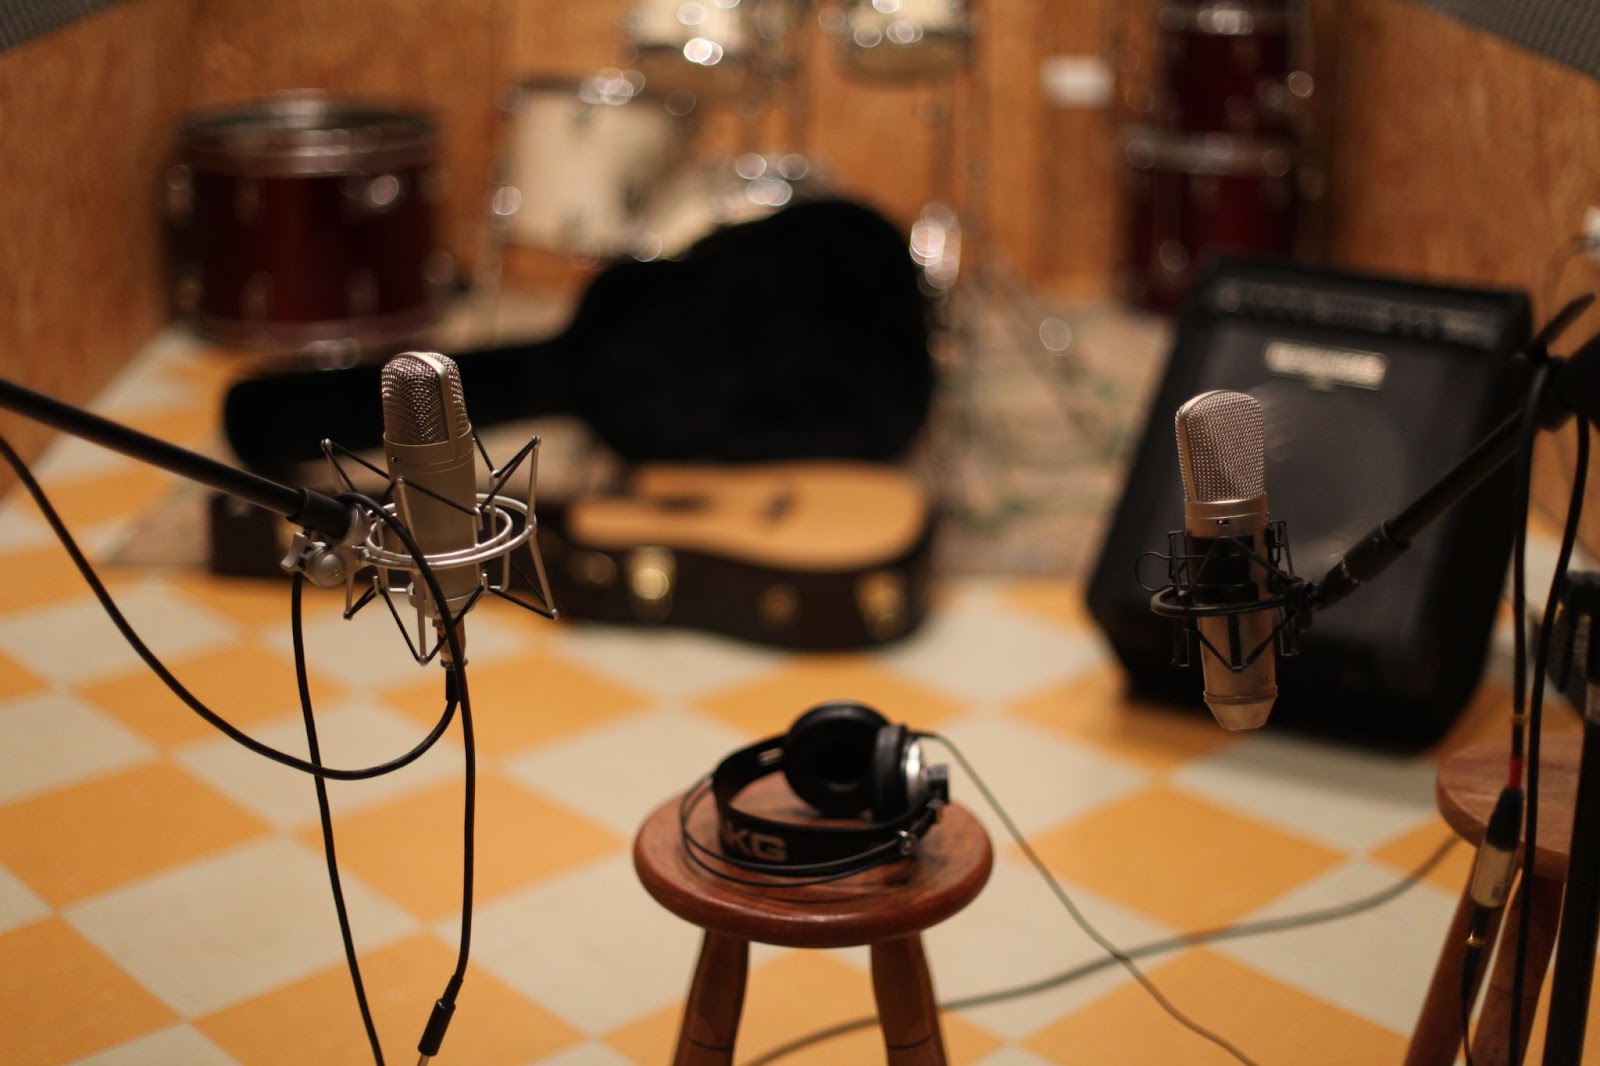
Make sure you are recording vocals in an acoustically treated room and choosing a good microphone is a must.
Condenser microphones are the best option for recording vocals and putting the microphone in the middle of a room can lead to the build-up of standing waves which creates unwanted distortion.
Stereo miking techniques can be used to create the perception of width, space, and location. Recording different signals for left and right stereo channels mimics the function of two human ears.
Our auditory system perceives width, space, and location by comparing the sounds captured by our ears. Because our two ears are in different physical locations, we capture two different signals.
If you have recorded vocals at a quieter level then you have to crank up the gain in order to listen to it properly. Doing this will increase the volume of the noise floor as well.
The noise floor is basically the hiss or hum from the recording equipment or thermal noise etc.
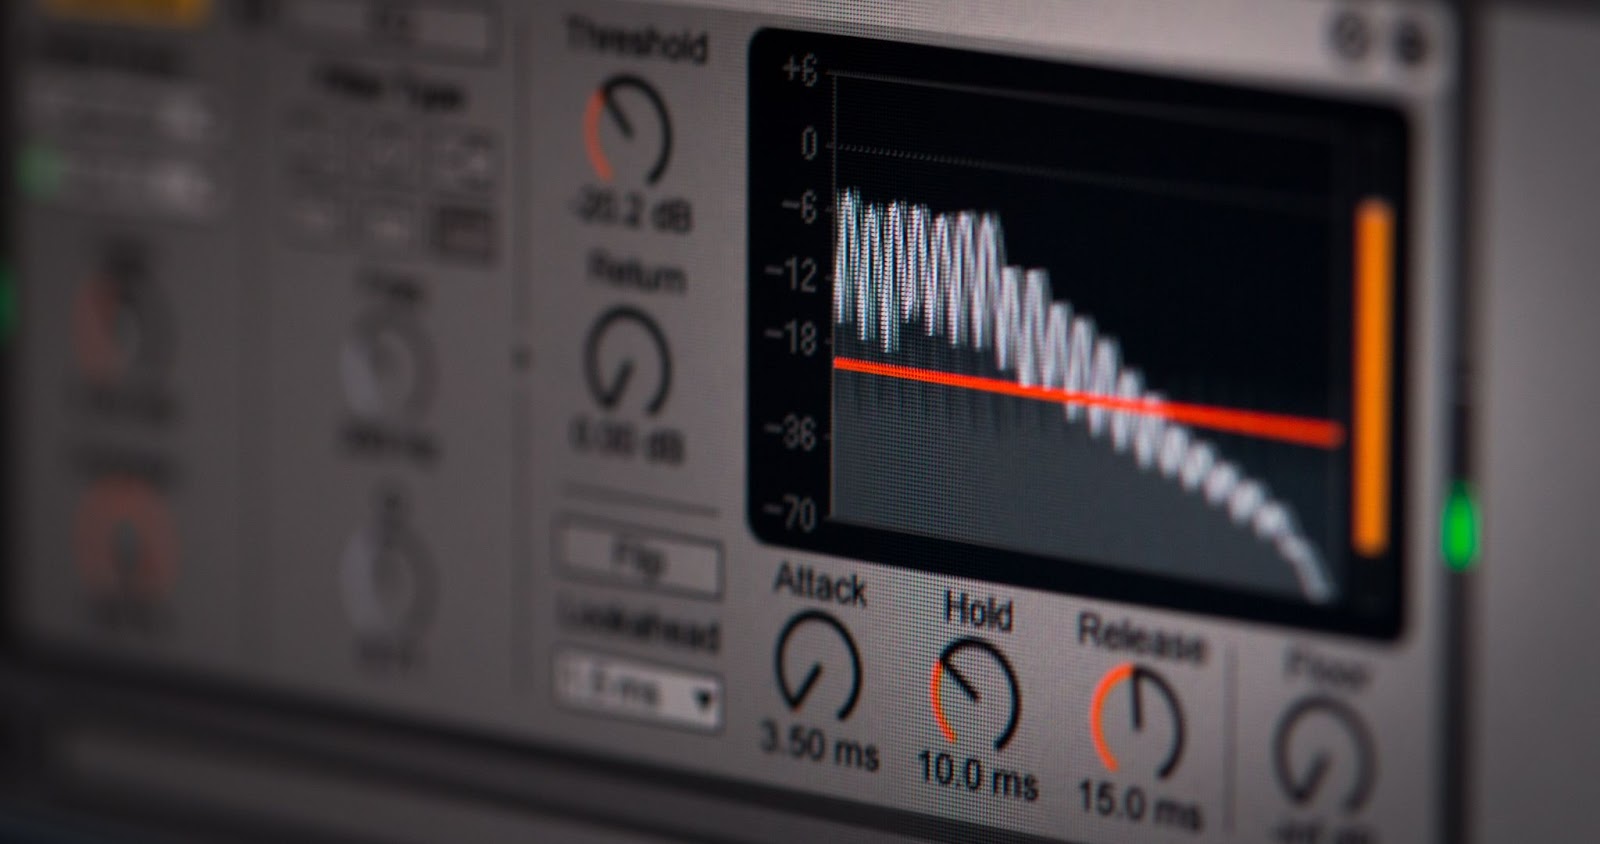
Compression can introduce noise floor so compress vocals lightly in serial processing.
Compression varies according to different genres. Some genres like pop or EDM have an aggressive approach to compression when it comes to vocals.
Use parallel compression for more aggressive sound or tight and punchy drums. Parallel processing is a powerful tool to achieve great sound without changing the color of a dry signal.
Using glue compressors on groups or busses can be a game-changer. Glue compressors really help in gluing sounds together.
For example, you want a good relationship between kick and bass and need a tighter low end that hits hard in clubs then using a glue compressor on kick and bass group will help you achieve that.
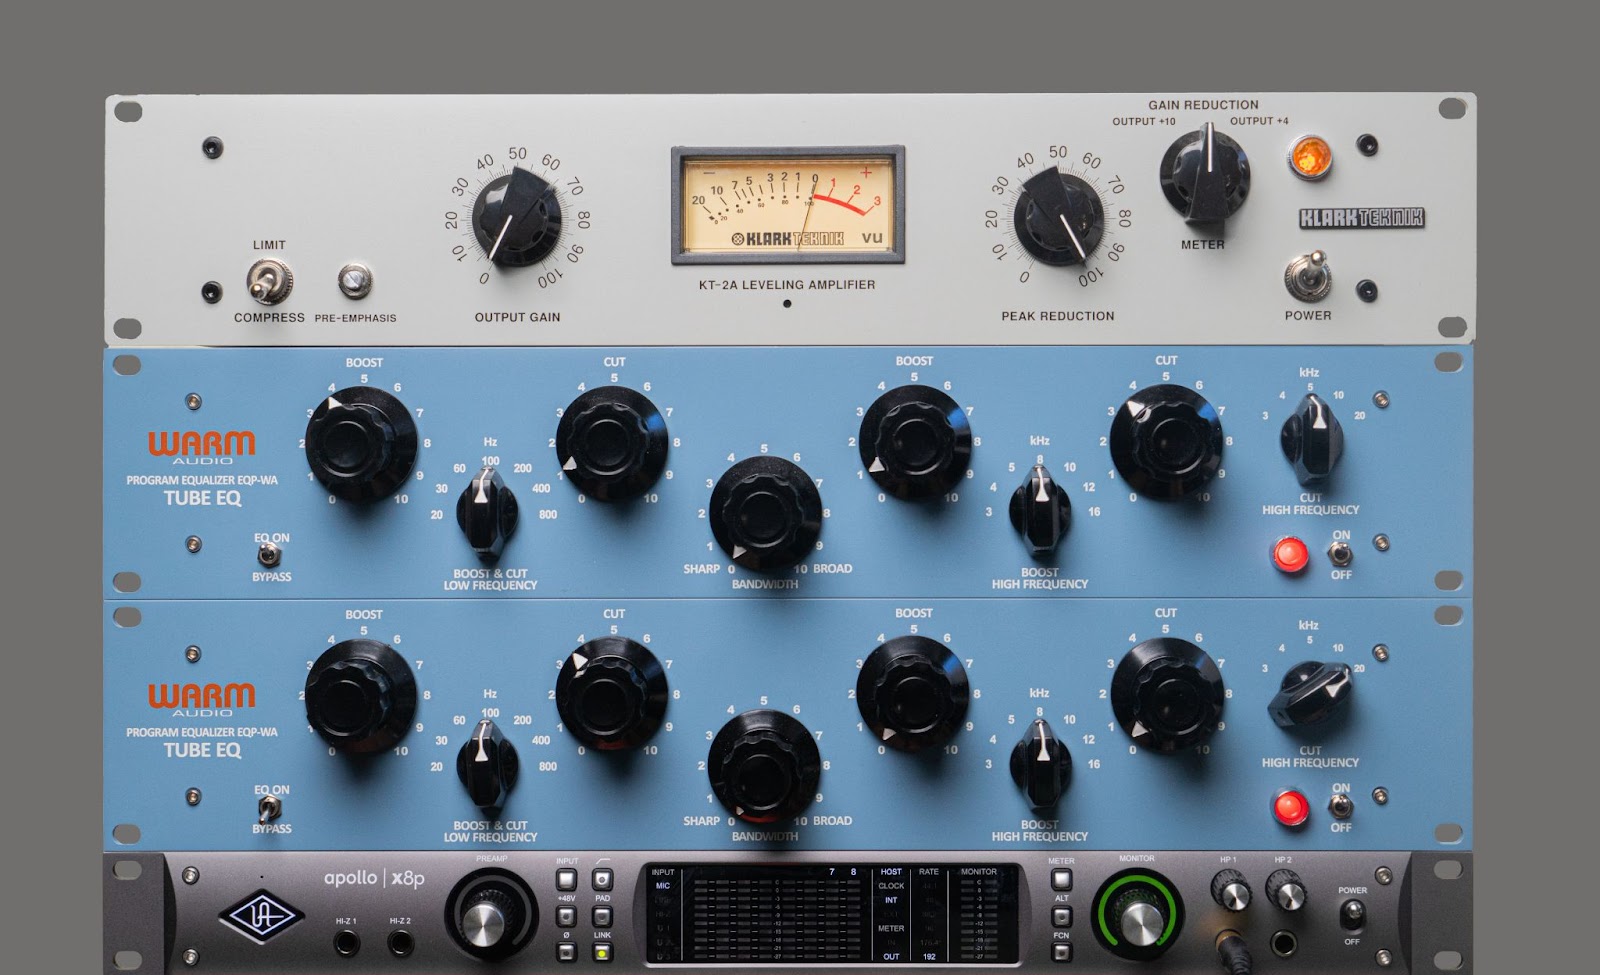
Eq is one of the most important tools. It helps change the tone or timbre of a sound.
Parametric eq is really versatile and helps find unwanted and bad frequencies in order to tame them down. A good example of parametric eq is Ableton’s Eq8.
But parametric eq also creates phase issues so use it accordingly. But if it is a linear phase eq then it solves the problem.
Fabfilter pro Q3 has a linear phase mode. Dynamic is a little different than parametric eq. Dynamic eq does not completely remove the frequency rather it has a threshold in which any set frequency passes that threshold that only the eq tames it down. Really a powerful tool in mixing.
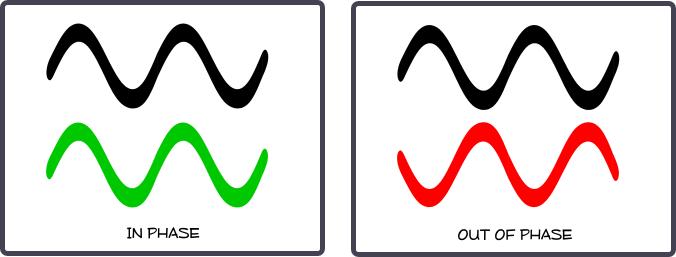
Phase is one of the essential topics in audio. Relationship between waves defines phase.
Suppose you are micing a drum kit and on snare you have two mics, one is top and other is bottom. So when you record both of them if the waves align together and are exact copy of each other then they are perfectly in phase; which means increase in volume or amplitude.
If the waves are align together and are opposite to each other then they will cancel out and the information is lost. There are various plugins weather its 3rd party or built in have a phase flip switch helps reversing the phase of the wave.
Keeping this in mind it will help in production as well as in the mix.
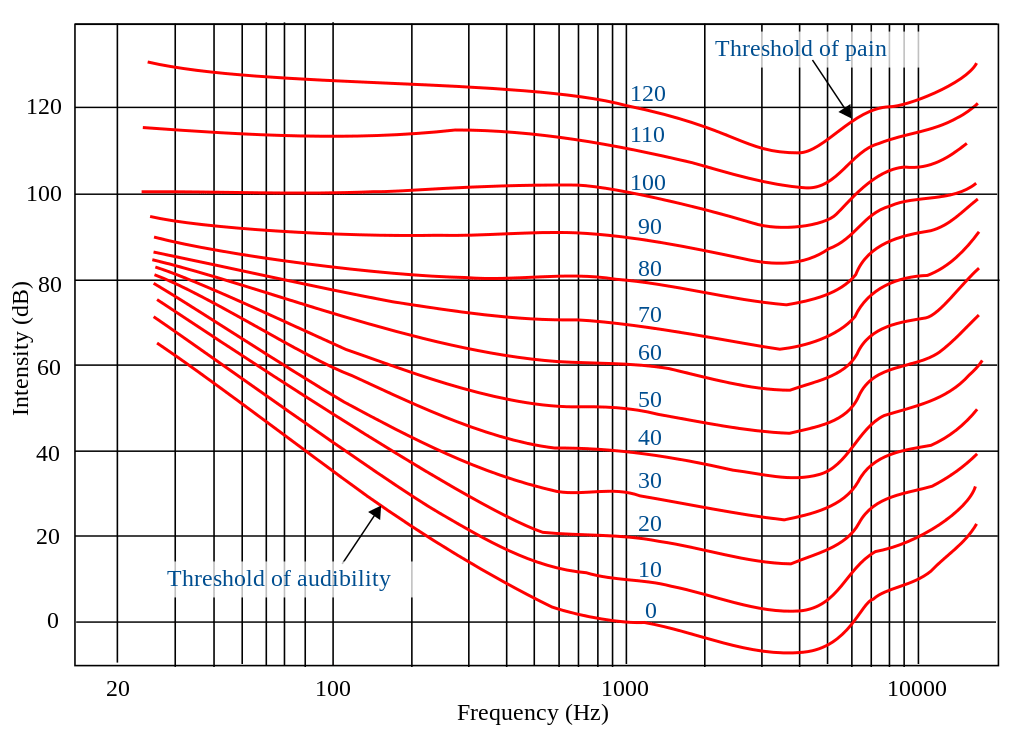
The Fletcher Munson Curve can also commonly be referred to as an equal loudness contour due to its ability to display how we can compensate for our ears heightened perceptions of certain frequencies.
These contours typically range from the extremely soft level of 0 dB all the way up to 130 dB which is commonly known as a destructively loud level that can permanently inflict damage upon the ears when exposed to this level.
Human ear is capable to hear from 20hz to 20khz. The low frequency travels slow and are more powerful and needs higher volume in order to listen to these frequencies.
On the other hand, Higher frequencies tends to travel faster and needs comparatively less volume to be heard. Keeping this in mind we should approach mixing.
For example, you are outside the club and you hear some music. So those frequencies are not higher frequencies those frequencies are the fat bass or lower frequencies as they take more time to travel.
Around 120 dB is the threshold of pain which human ear can not bear.
So keeping the volume of your low frequencies higher and less volume for high frequencies will like a charm.
Mixing is the game changer for many producers. It is a creative process and involves a lot of decision making.
Consider you have 13 instruments in your track so you have to make sure each and every sound is clear and audible. We have 20 hz to 20 khz range to fill the spectrum which has lows,mids and highs.
We have to be careful about low and as we know low frequencies takes time to travel so there will be clashes between kick and bass.
To overcome this we use sidechaning. Sidechaining works by ducking bass when kick hits so it creates space for kick by eliminating bass.
To create a better mix below are the things you should keep in mind.
Mastering
This process is the final stage of music production. It gives the final touches and polishes your tracks for optimizing clean sound across different systems.
Do not do hard compression while mastering as it might destroy your song. Ratio not more than 2:1 is required.
Try to keed the GR around 2dB.
Use reference track while mixing as well as mastering. It really helps to achieve the professional level sound. Do the A/B test Between master and the original mix to spot any problems.
Do some light eq while mastering as the heavy eqing must be done while mixing. Making cuts more than 3dB can ruin your track. And use wider Q to sound more coherent.
Limiter is actually a compressor on steroids. We use limiter to make the track loud with creating distortion. It is the most important mastering tool but should be used carefully.
Lufs stands for loudness unit full scale. In recent years Lufs have taken over RMS in loudness measuring. As Lufs is catered towards human hearing.
Producers and engineers have been pushing the maximum Lufs without ruining the quality of music. This all loudness war came into the picture as for humans, louder is better.
So if you want to release your music on streaming platforms keep in mind these integrated lufs value before putting out your music.
So if your song is at -8Lufs then spotify will decrease the volume by 6db. Aim for around -14Lufs integrated for all platform.